Cover: INJ Culbard
Publisher: Rebellion
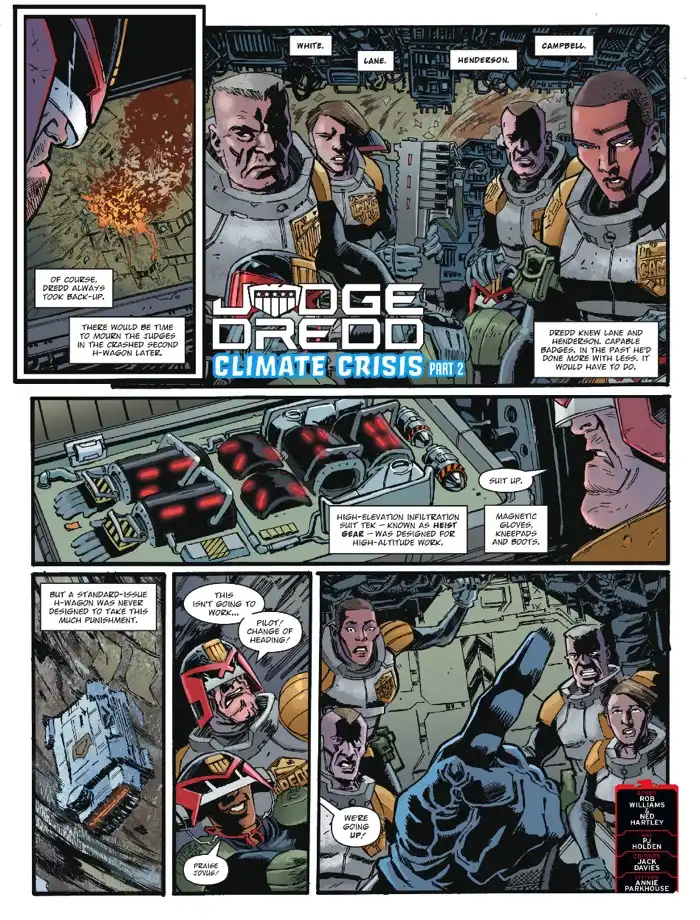
Judge Dredd
Script: Rob Williams & Ned Hartley
Art: PJ Holden
Colours: Jack Davies
Letters: Annie Parkhouse
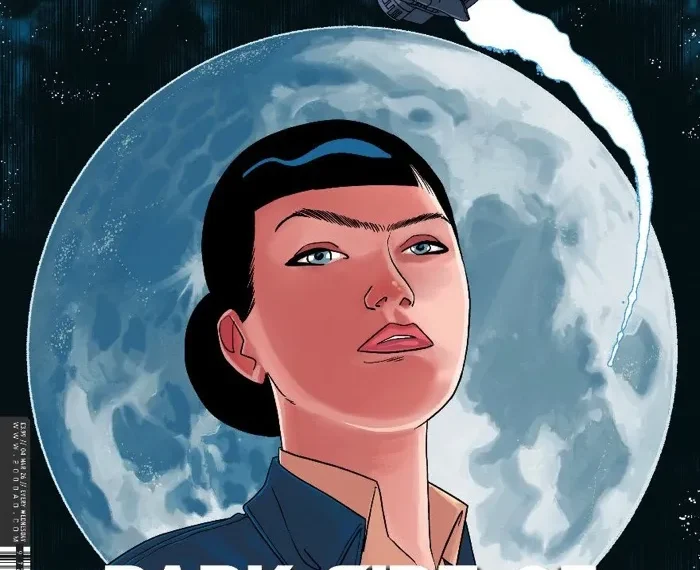
Of course, Dredd survived last prog’s cliffhanger, as we see that it was a backup vehicle which crashed. Dredd and the gang put on their space suits with magnetic gloves, knee pads and boots. They drop far too fast, and the magnets are so powerful that when they land on the weather station, Judge Henderson’s arm shears off.
On the ground, the widow kills Judge Hall and begins negotiations with the cabal of rich people.
The star of the show this week is PJ Holden. Holden draws Dredd with such kinetic power so that when he falls, you really feel the speed.
Herne & Shuck
Script: David Barnett
Art: Lee Milmore
Colours: Gary Caldwell
Letters: Annie Parkhouse
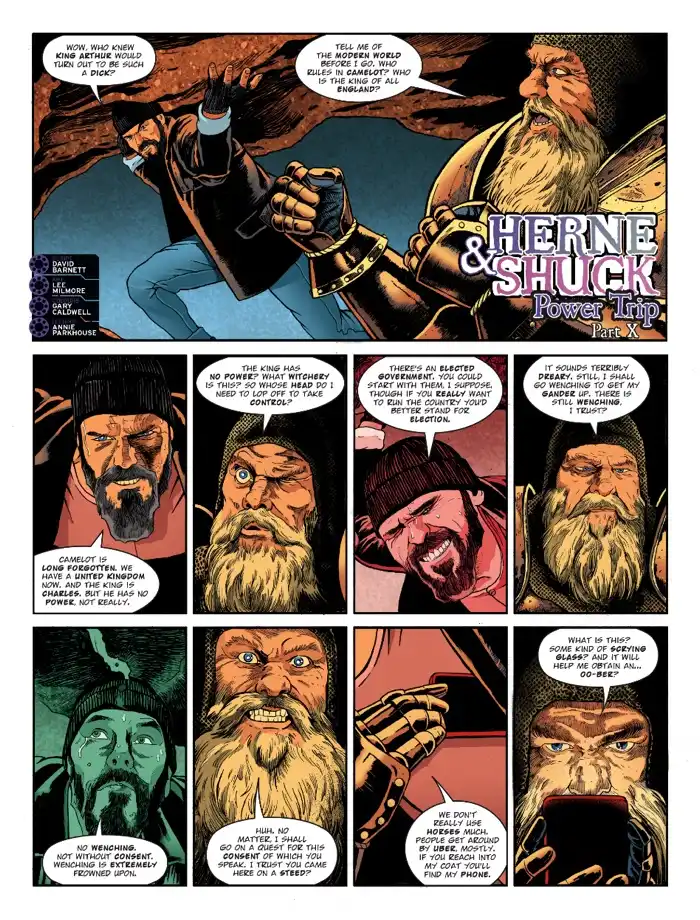
Herne’s under the rock but tricks Arthur into taking it back, luring him back under the rock with his phone, which he promises is full of wenches.
Jordy ambles back to the country house, without Caris, and hosts the gods, who deny him demigodhood.
I’m unsure of what the point of Herne’s trial was. If Herne wasn’t dumb enough to fall for Arthur’s trick, what would the task have been? And Jordy has been up and down the UK since Caris was taken, which I imagine has taken at least a week, so surely by this point, St Michael has carried out their plan.
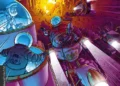
The Brink
Script: Dan Abnett
Art: INJ Culbard
Letters: Simon Bowland
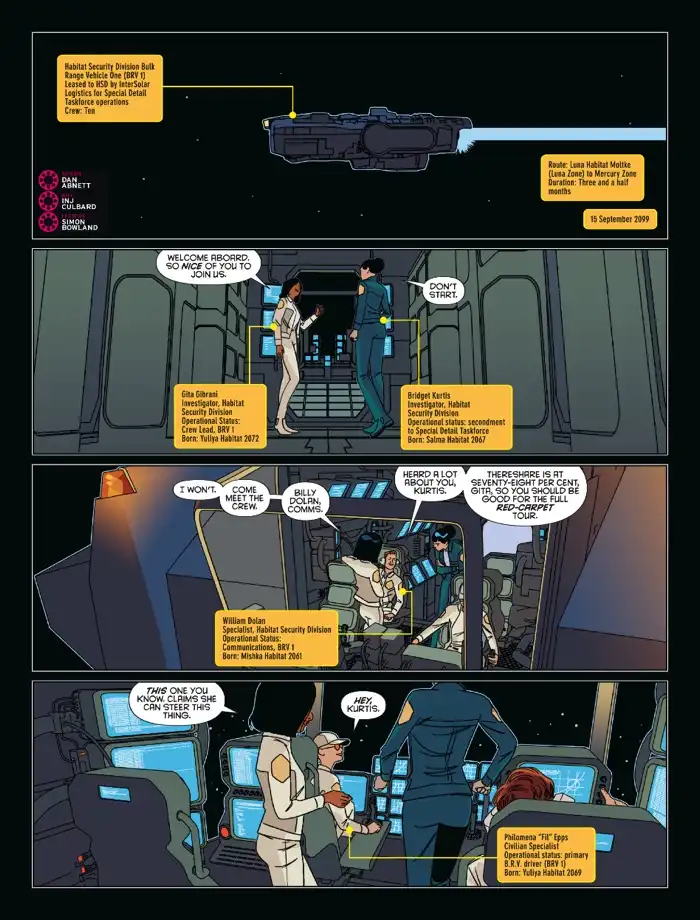
The Brink is back, and it recommences with a tour of Bulk Range Vehicle 1, which set off early. We learn that it did so because the director suspects that there is a mole.
Part one of The Call of the Void sets a slow pace, introducing us to the crew of the BRV 1 and the general situation, and I found it rather dull. There’s an abundance of dialogue but not much drama behind it. But I was a fan of Abnett-penned Azimuth, so I’m sure that with the main characters established, we can expect a more propulsive part 2.
The Discarded
Script: Peter Milligan
Art: Kieran McKeown
Colours: Jim Boswell
Letters: Simon Bowland
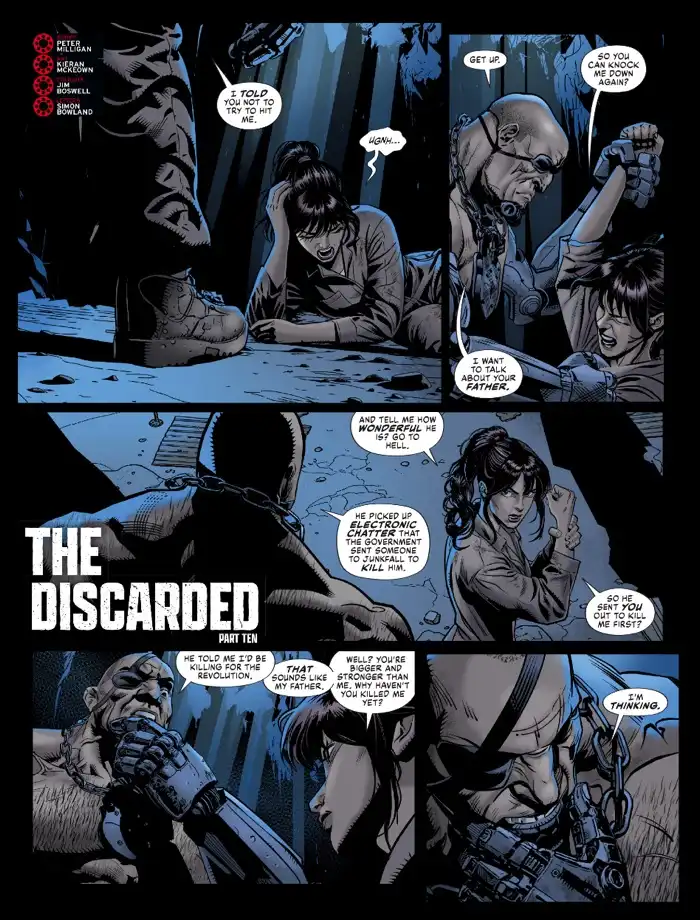
Chain looms over Veera. While he deliberates over whether he should kill her or not, she bolts and ruminates on how she’ll convince Aaxon that she’s changed.
Aaxon has changed, too. Aaxon taught the chip the rhetoric, but not the motivation, and now it will go to any lengths to establish a revolutionary society.
I’m interested to find out the chip’s real motivations. In part 1, it seemed to find its way to where it needed to be, almost like The One Ring, but I have to wonder, what reason would it have to achieve a revolutionary society? Who made it, why did they make it, and why was it considered a failure?
Overall: 4/10

Tony Holdsworth is a comics writer based in Dundee, Scotland, who reviews 2000AD each week.
His comics can be found here: https://tonyholdsworth2.wordpress.com/category/portfolio/