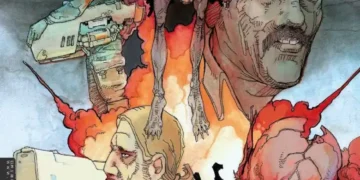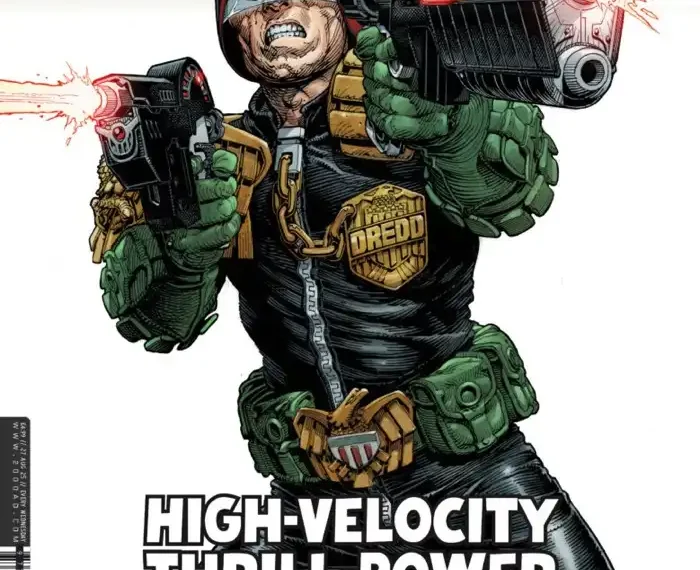
Cover: Cliff Robinson & Dylan Teague
Published by: Rebellion
Bumper issue, many-a-story in here.
Judge Dredd
Writer: Geoffrey D Wessel
Artist: Nick Roche
Colours: Jack Davies
Letters: Annie Parkhouse
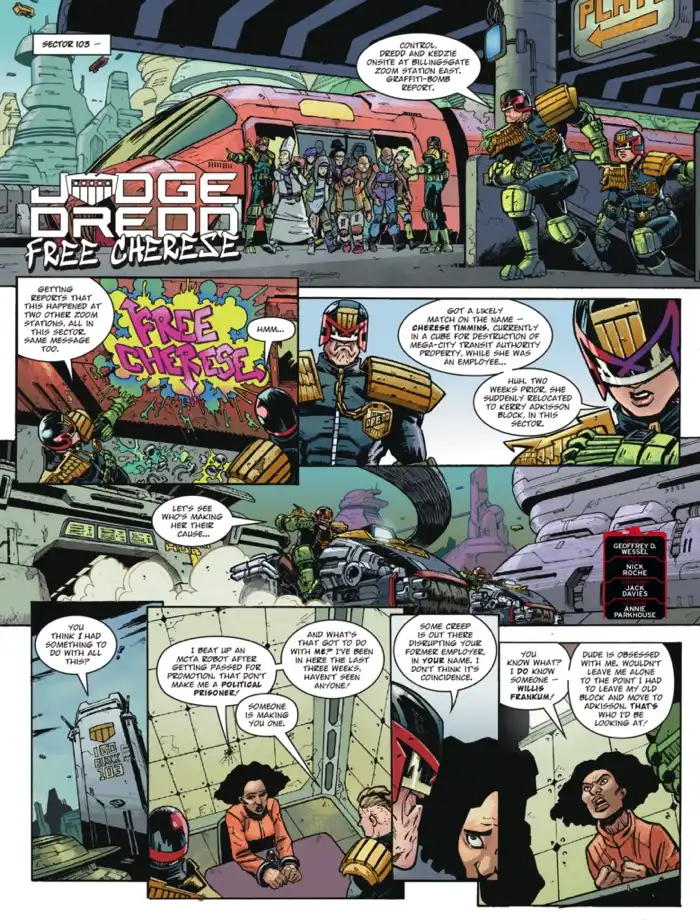
At Billingsgate Zoom station East, Dredd evacuates a carriage of citizens after a graffiti bomb was reported. The graffiti reads “Free Cherese.” Dredd quickly links the tag to new iso-block resident Cherese Timmins, who was passed over for a promotion, so she attacked a Mega City Transit Authority robot.
Cherese knows one man who would want to free her. She reveals that she had a stalker, Willis Frankum, who Dredd finds out is actually an alien, after finding Frankum’s shed skin.
It turns out that Cherese isn’t a disgruntled transit worker, but a scientist in hiding after she rescued Frankum from being euthanised, but he imprinted on her and wouldn’t give her a moment’s peace. She attacked the transit ‘bot just to get away from him.
There’s a reveal on every page, so the strip rips along at a breakneck pace, but rather than feeling overwhelming, everything is so clear and engaging.
My favourite stories set in MC1 are those in which characters act compassionately, only to find that their environment makes such behaviour impossible. They find that the odds are stacked against them so highly that their only reward is a stint in the cubes.
Roche’s artwork lends the strip some levity, though, so the tragic circumstances aren’t such a horrific gut punch. His cartooning strikes a perfect balance between realistic and comical; Frankum’s old, sagging skin is perfectly disgusting. Every moment is selected and drawn so perfectly so that the story can shine through.
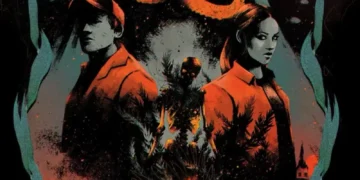
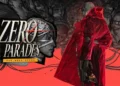
Azimuth
Writer: Dan Abnett
Artist: Tazio Bettin
Colours: Matt Soffe
Letters: Jim Campbell
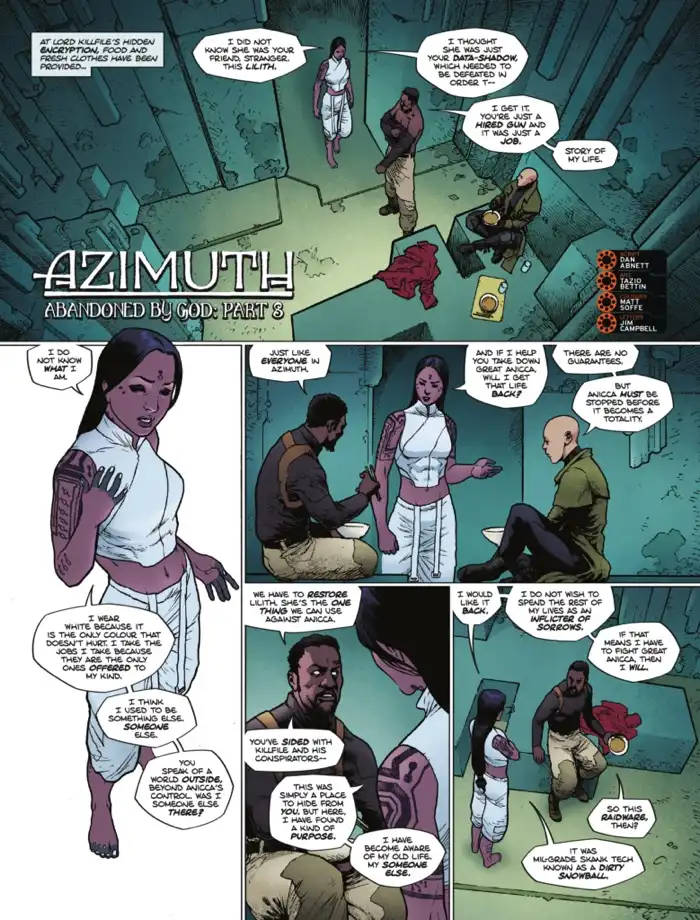
Suzi Nine wants her life back, and Dexter offers this to her if they manage to restore Lilith. Their plotting nicely recaps the stakes and the plan, but Anderson interrupts them to alert them to the basilisk’s descent.
Crazy Hate’s call to Anicca was answered by the basilisk. In a world where death is not the end, the basilisk is the ultimate giver of finality.
Their plans contrast against the basilisk’s total annihilation, a denial of the future, and it’s shocking. Tazio Bettin carries the action effortlessly. The page-wide panels convey the enormity of the destruction, and it makes it easy to read, so that the captions can tell us how it feels to die.
The only thing worse than the basilisk’s fury is the fact that Azimuth is not returning next week. The next chapter is in three months, and I can’t wait.
Future Shock: Let There Be Light
Writer: James Peaty
Artist: Mike Walters
Letters: Annie Parkhouse
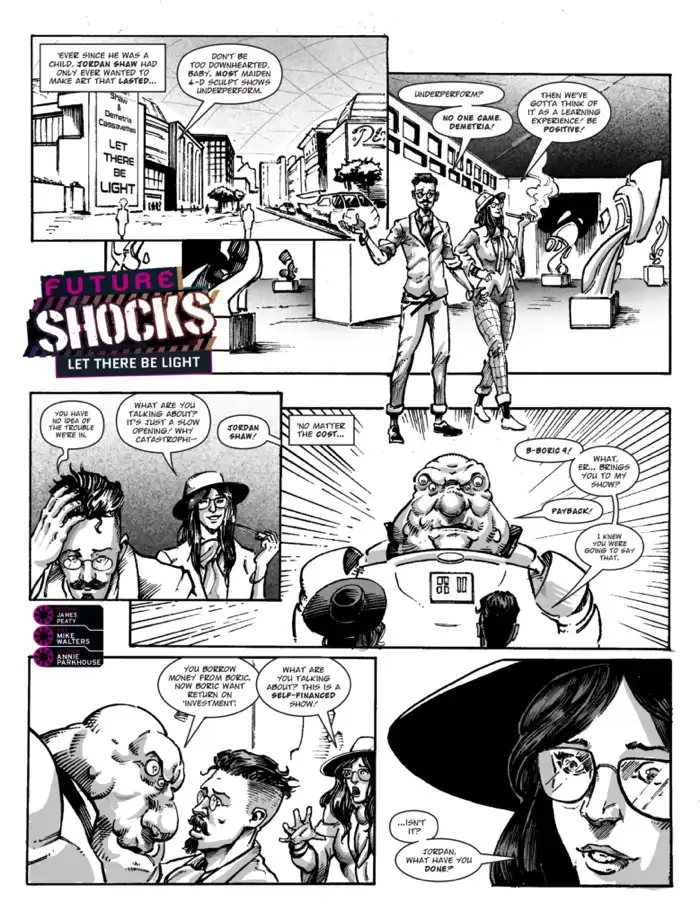
Jordan Shaw wants to live the art life forever with his partner, Demetria.
Jordan is a 4-D light sculptor and puts on an exhibition, but no one comes. Demetria tries to cheer him up, as it’s not the end of the world, but she quickly finds out that the show was not self-funded, but funded by loanshark Boric 9.
Jordan cannot repay Boric 9, so the alien puts them to work, but they’re too slow, and they have to prove their value some other way. Boric 9 knows of a valuable sculpture being shipped and makes them copy it so that he can sell counterfeits.
Demetria shoots Boric 9 with the light splitter, a sculpting tool. She plans to sell the sculpture and leave Jordan, but he starts a scuffle to make her stay. In the process, the light splitter goes off in Demetria’s pocket, with dire consequences for them. They end up living the art life forever, in a way.
While the twist and final line are satisfying, the middle section suffers under the weight of all these actions. Why couldn’t Boric 9 just steal it and sell it, like Demetria plans to, instead of copying it, making the humans make counterfeits, and sell the copies? Why didn’t Demetria kill Boric 9 with the sculpting tool earlier? I normally enjoy this kind of story where a debtor has to repay their debts by unusual means, but the story gets tangled in its second act, so the ending does not clearly and decisively pay it off.
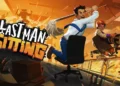
The Ravilious Pact
Writer: T.C. Eglington
Artist: Steven Austin
Colours: John Charles
Letters: Simon Bowland
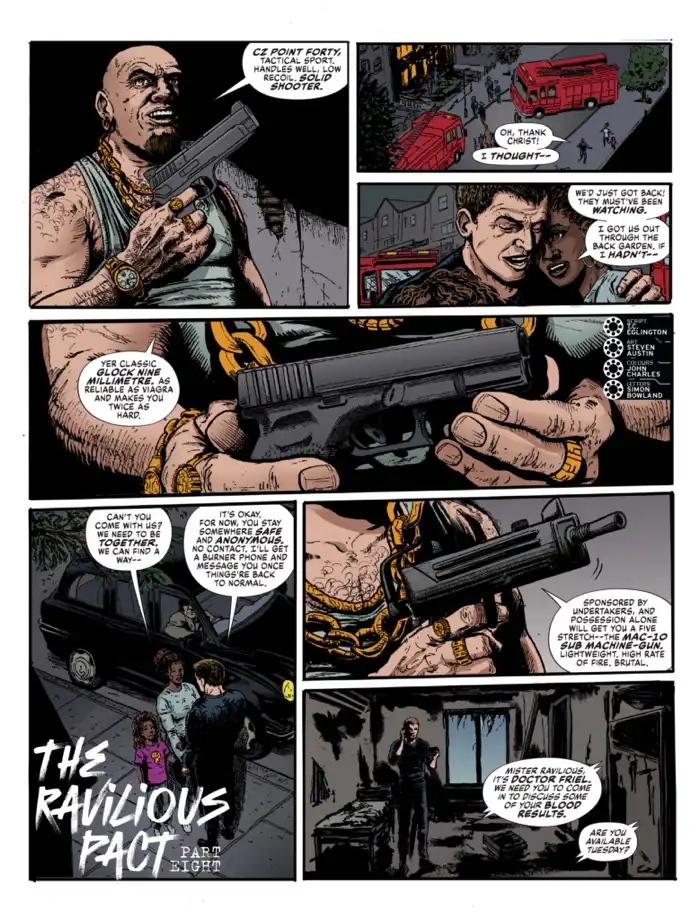
The strip opens with a cool first page: Jason reunites with his family, but the happy family panels are separated by panels from another scene in which Jason buys weapons to strike back at Todd. Jason’s gangster life is literally splitting up his family time. The family panels end and are replaced with a scene where Jason receives medical news: he probably has cancer.
This part serves as a preparation montage for both sides of the conflict, but it has some interesting cross-cutting to keep things moving along.
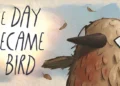
Herne & Shuck
Writer: David Barnett
Artist: Lee Milmore
Colours: Gary Caldwell
Letters: Simon Bowland
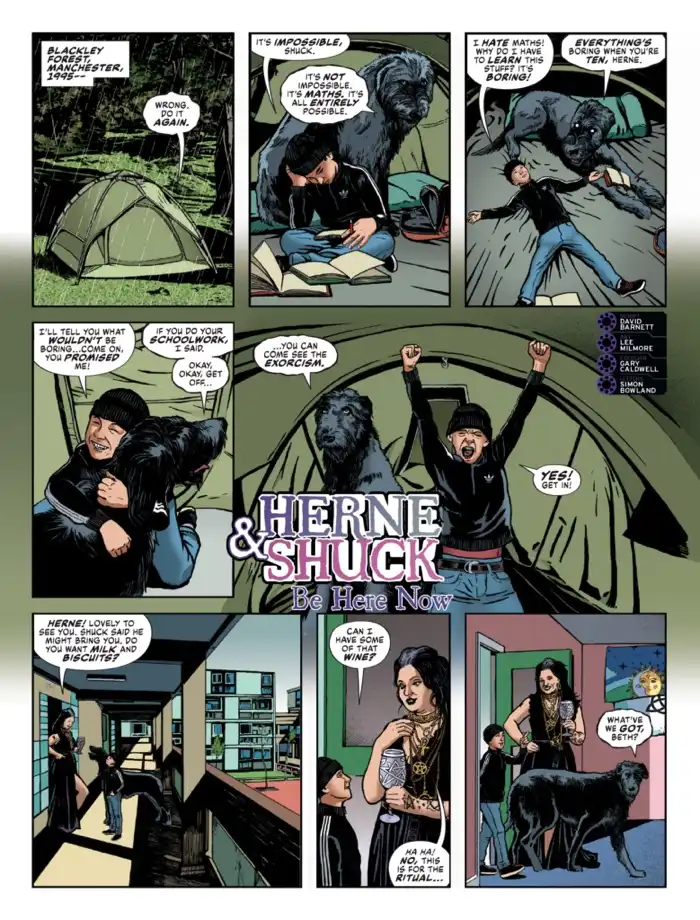
Herne and Shuck is back with a one-off, and it’s set during Herne’s childhood.
Herne goes to see an exorcism, where he sees Shuck eating a demon. While Shuck sleeps off his meal, Herne sneaks into Manchester and joins up with a crew, but it turns out that his new mates want to sacrifice him. Shuck rescues Herne and eats the demon.
This tale didn’t excite me, I’m afraid. It feels quite long, with needless visits to characters who aren’t necessary. Shuck rescues Herne despite Herne doing little to solve his own situation. Though Herne does try and defend another boy, a boy who intended to sacrifice Herne to Mr Bull, this doesn’t have any bearing on Shuck arriving in the nick of time. This would have happened anyway.
Milmore’s demon designs are inventive in the details, and I look forward to seeing more of those when the series kicks off again in a few months.
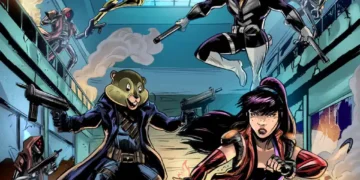
Scarlet Traces
Writer: Ian Edginton
Artist: D’Israeli
Letters: Annie Parkhouse
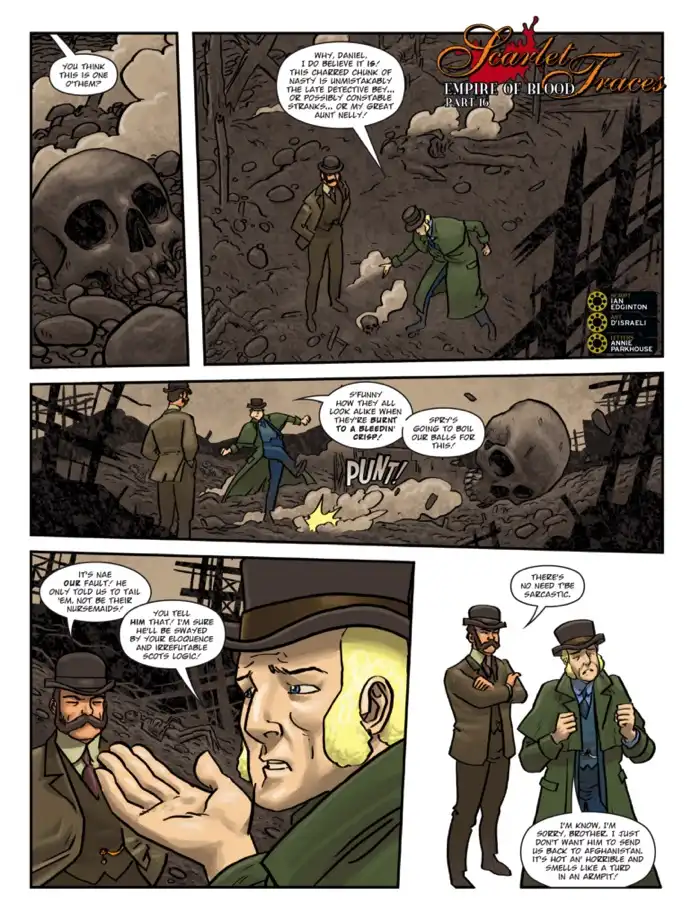
Spry’s goons find the burned out warehouse after the Martian wail attracted their attention. Underground, Bey, Stranks and the Austrian (forgive my past mistakes, I’ve been referring to them as Germans) are discovered by the Martian War Machines, one of which seems different to the other. The martian inside seems to impel the humans to die, but I bet there’s more to it than we may think.
D’Israeli’s art gives texture to the scene: roughness, specularity and luminosity are deployed masterfully to give us absolute belief that we’re in an underground Martian den.
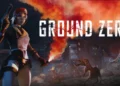
Nu Earth War Tales
Writer: Karl Stock
Artist: Karl Richardson
Letters: Jim Campbell
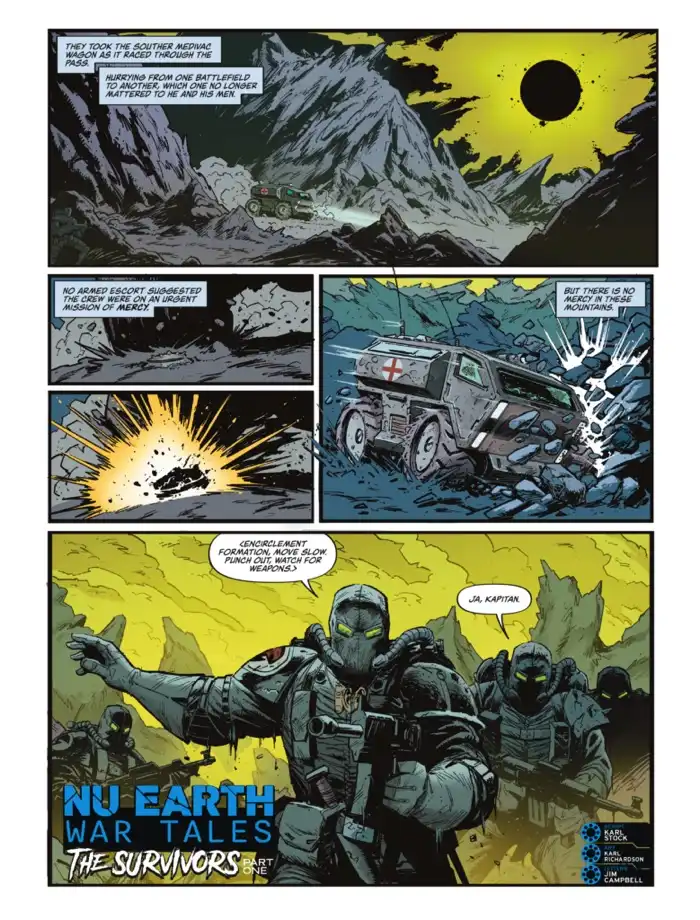
A Souther medivac is caught in North territory. Kapitan Kanal leads the Norts, and he is drawn so beefily that you can feel the weight of his experience through the page.
Kanal takes the medical troops to the Aerie, a mountain outpost, where he guides the prisoners to a cell, past a roasting spit, on which turns a human…arm? It’s hard to tell. It’s been completely robbed of its relation to the whole.
We find out that Kanal’s corps are hostile to both the Northern and Southern forces both, so I’m very curious to find out what they did that alienated them from the main force. Kapitan Kanal wears a pair of ears and a finger around his neck on a necklace, so I have an inkling that he’s even more extreme than even Norts are permitted to be.
Overall: 7/10

Tony Holdsworth is a comics writer based in Dundee, Scotland, who reviews 2000AD each week.
His comics can be found here: https://tonyholdsworth2.wordpress.com/category/portfolio/